About CCWT
Central Coast Wood Turners links to external sites -
The following YouTube videos are links to external sites and have no direct connection to Central Coast Wood Turners (CCWT). No responsibility is taken by CCWT for actions taken by individuals who may want to practice the skills shown.
The aim of the videos is to give a brief introductory explanation to some of the basic techniques and skills used in Wood Turning on a lathe, using a scroll saw, Pyrography or wood burning as well as carving.
Important Read before starting Wood Turning
Before beginning wood turning it is important to have a basic understanding of the tools used in turning, how to connect pieces to the lathe and possible means of holding nearly completed pieces to the lathe for finishing. This is in written format and is linked to the Wood Workers Institute (woodworkersinstitute.com).
Similar tools and techniques are used at Central Coast Wood Turners. It should be recognised that information given is generic only and does not replace directions given by the instructors at CCWT. It does however provide support to learn skills.
Because wood turning lathes and other machinery is used, it is important that all necessary PPE (safety equipment) is used and use of machinery is well known before use and that each individual is solely responsible for recognising and accepting any risks used in the process.

A new wood turner should know the names and types of basic tools and gouges that are used and descriptions of each. Terms such as 'flute', 'bevel', 'ferrule', 'heel', 'toe', 'handle', etc should be known and understood. The shapes and names of the various tools and gouges should be learned such as the roughing gouge, bowl gouge, spindle or detail gouge, skew chisel, scraper, parting tool and so forth.

The new wood turner will see how timber can be securely connected to the lathe to do spindle turning between centres, how to use a faceplate, using a screw and also a chuck.
A piece of timber, made into a 'piece' will often need to be be finished by additional removal of extra elements such as tenons or by further sanding and finishing. In these cases it may be necessary to 're-chuck' the material to gain access to extra areas of the workpiece. Described here are some possible methods that can be used.
Wood Turning
Shown below are just some examples of how to use a lathe and some simple projects that may be made.

Mike Peace explains the 3 key principles used in wood turning.
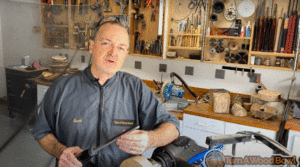
For a (bowl) gouge, the terms relating to the gouge (namely the Bevel, Cutting Edge, Heel and Flute) are clearly defined and how the gouge is used is clearly shown. The term "riding the bevel" is shown and why it is such an important element in wood turning.
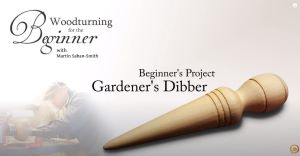
This is a good video to show a wonderful project for the beginning woodturner. It is the Garden Dibber used for hole creation for plant seeds..
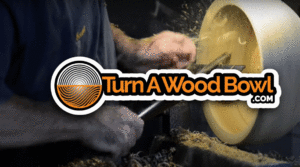
Why is it that some people produce projects with smooth finishes while others struggle with turned wood?? This video shows and explains how to best cut the fibres of timber for the best possible result from the gouge without needing lots of sanding. Supported cuts are an essential for a smooth surface.
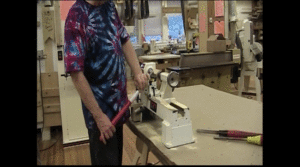
A good basic introduction to wood turning showing the various tools and gouges used as well as methodology and reasoning behind tool usage.

This is a particularly good video showing how to use the spindle gouge to create beads.
For the novice, this is a good tutorial on how to set up for turning a bowl and using suitable gouges.
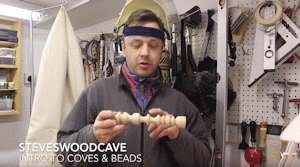
A basic but good explanation of how to use the spindle gouge to make the basic elements of a wood turning project of a cove and a bead. As with any wood turning it is important to use all necessary safety procedures. Ensure that the bevel is rubbing when creating the cut.
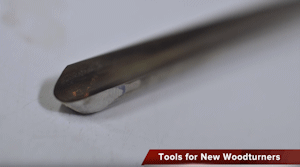
Four (4) basic tools that a novice wood turner should consider purchasing when beginning wood turning. There are demonstrations of how each may be used.
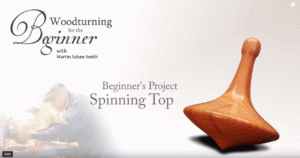
Using a roughing gouge and spindle gouge to create a free turning spinning top. A good beginning project.

Lathe Turning a Viking Bowl using a bowl gouge as well as more advanced turning strategies. The result is a great looking bowl with a bead at the top and a consistent depth of wood for the bowl surface.
This shows how to quickly and easily turn a blank and then create a simple Christmas Tree and a goblet with minimum fuss. In particular notice how timber is removed to avoid catches
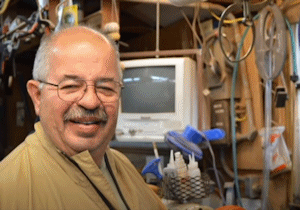
This is a basic Pepper (or salt or both) project presented by Captain Eddie. Unlike most Salt and Pepper Mills, the one that Capt. Eddie makes consists of the body as is routine with the exception that the top is constructed so that the join line between top and bottom is hidden. This gives a nice touch to the old favourite.
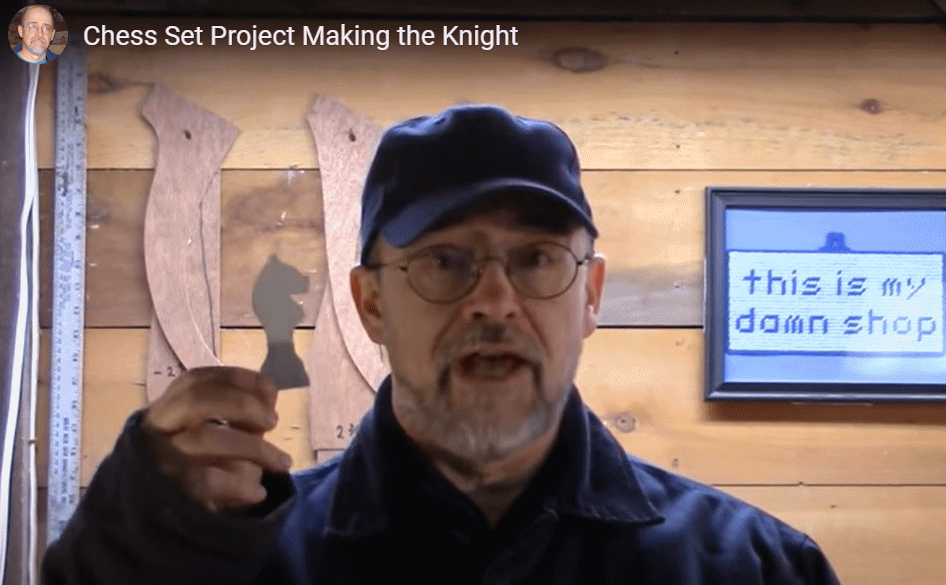
The focus here is on showing how the Knight chess piece (the 'horse'), is created by wood turning. The basics include the base being turned, while a small band saw or scroll saw is used for the front and side shapes. The finishing can be done by a variety of techniques including hand sanding, mechanical sanding, filing, using a 'dremel' and so forth. This is only one technique but is suitable in most instances. It's important to have square stock for stability of cutting.
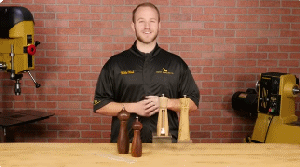
This is a wonderful explanation of the process of creating a pepper grinder (mill). The same procedure is used to create the salt mill, with the exception that the salt mill is ceramic so that it will not rust. Clear instructions are given, from turning to round, drilling holes and the fun part of creating a pleasant shape to the final finishing and assembly.
Pyrography
Also known as wood burning is the process of using a poker that has been heated to burn shapes into wooden surfaces. Many different techniques are used and shown below are just an assortment
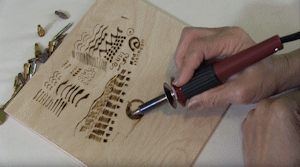
Introductory stroke techniques and tutorial for making basic burning on wood.
Using a basic wood burning tip to create a design on a wooden napkin ring with some very useful hints and strategies.

Showing a method of copying a shape to wood and then using a sharp pointed wood burning tool to create a design (in this case a turtle and text). These methods can be utilised for many different figures.
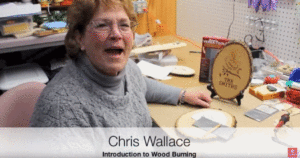
A simple project of creating a bird pattern and family name on an elliptical timber blank by using a variety of burning nibs.

Creating a burnt 'saying' by first transferring the original to timber then use Pyrography tool with universal tip to create the finished product.
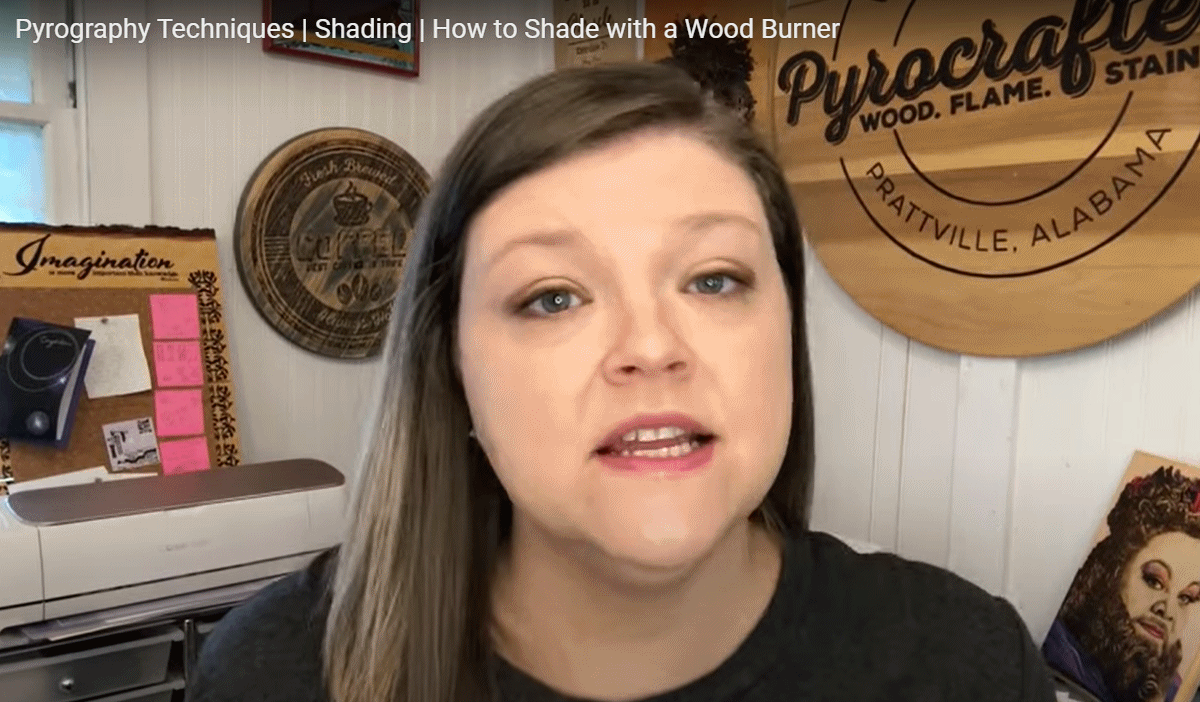
This shows how shading of a piece of timber can be done by burning using heat settings, movement and pressure. The result is quite impressive but is condensed into an easy to watch package.
Scroll Sawing
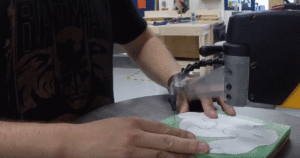
This is a basic introduction to setting up the scroll saw and starting to cut a scroll saw project.
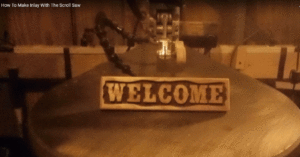
Want to make a wooden inlay with different timbers to create quite a wonderful look then this is quite a good video.


